Configuring SNMP on Windows Server 2012
Tutorial aimed at enabling a basic SNMP services configuration on Windows Operating Systems.
Configure the SNMP service
Section titled “Configure the SNMP service”Logged in as administrator, at the command prompt type:
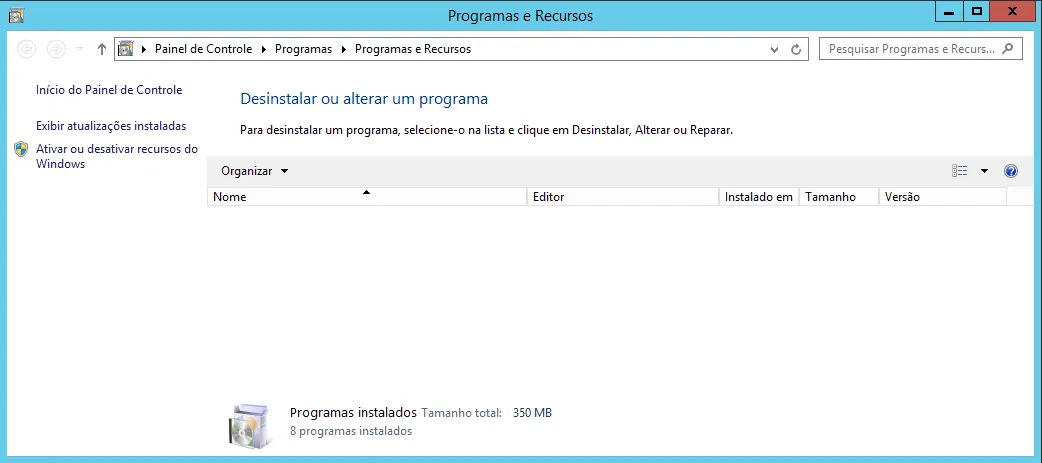
control appwiz.cplThe following screen will be shown:
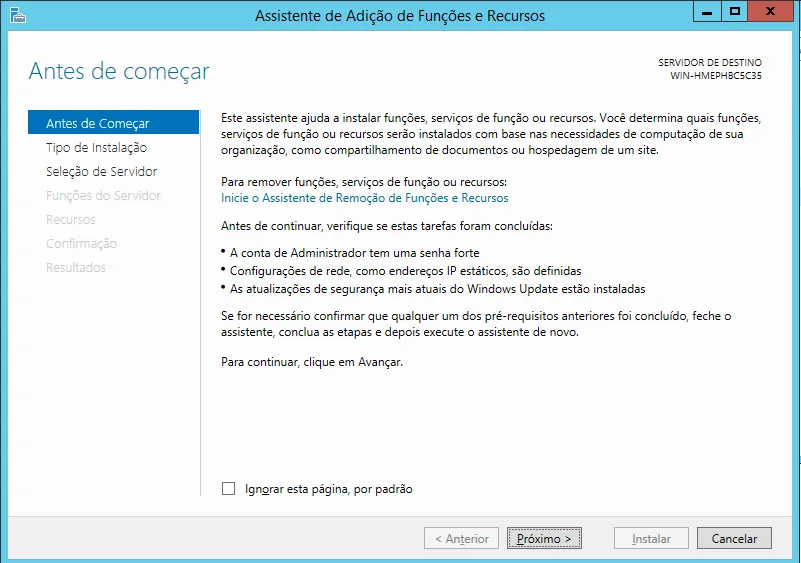
• Click the “Next” button;

• Select “Role-based or feature-based installation” and click the “Next” button;
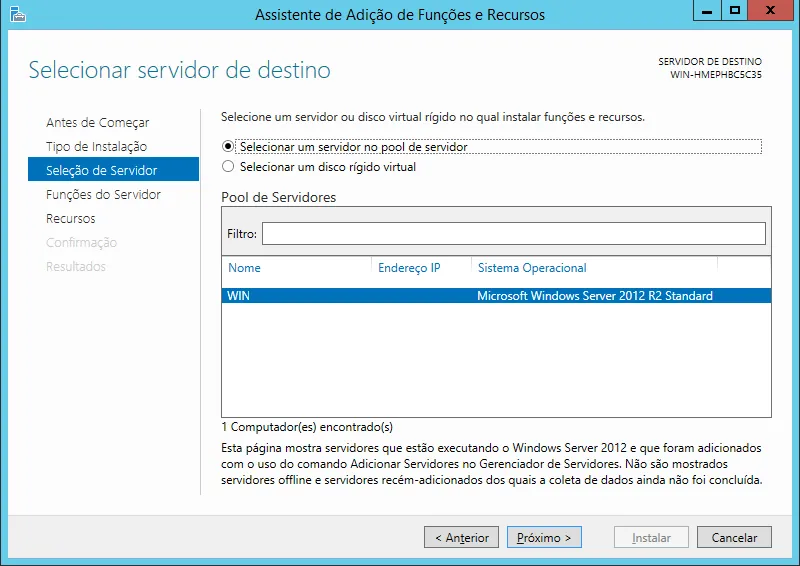
• Select the server where you want to install SNMP and click the “Next” button;

• Click the “Next” button;
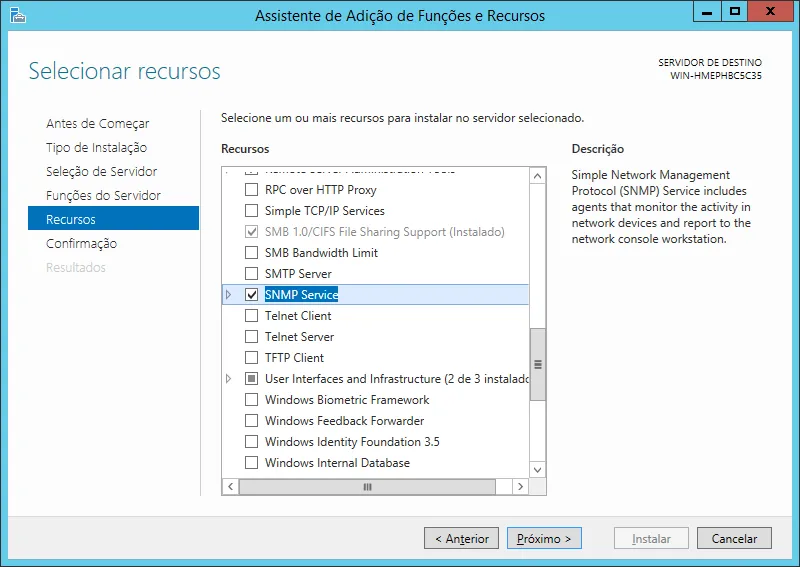
• Check “SNMP Service”;
• In the window that opens click the “Add Features” button;
• Click the “Next” button;
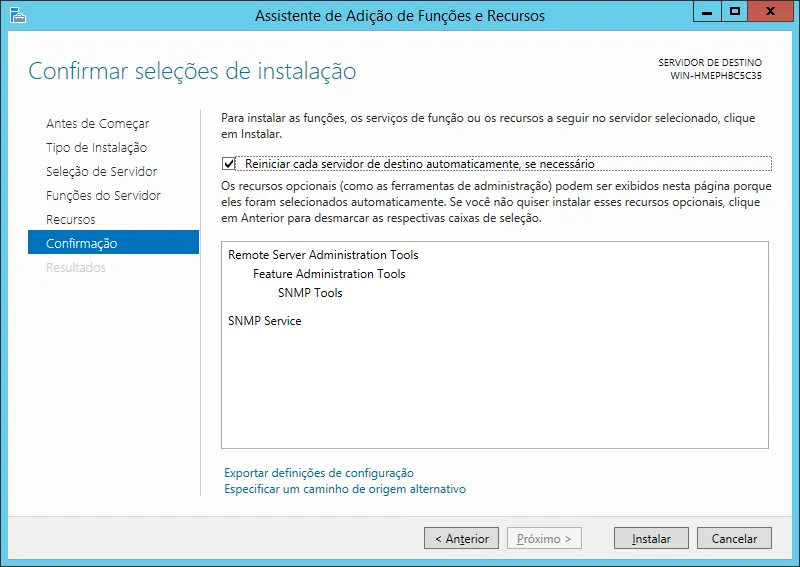
• Check the option “Restart the destination server automatically if required”;
• Click the “Install” button;
• When the installation finishes click the “Close” button;
At the command prompt, type:
services.mscThe following screen will appear:

• Click the “Action” menu and select “Properties”;
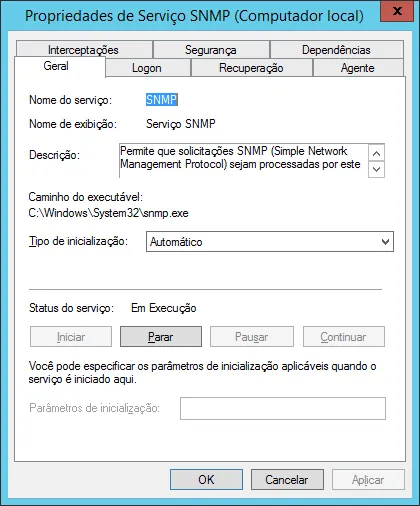
• On the “General” tab, set the “Startup type” field to “Automatic”;

• On the “Security” tab click the “Add” button;
• Under “Community rights” select the “READ ONLY” option;
• In “Community Name” type “public”;
• Click the “Add” button;
• Check the option “Accept SNMP packets from any host”;
• Click the “OK” button.
Allow SNMP service through the Windows Server 2012 Firewall
Section titled “Allow SNMP service through the Windows Server 2012 Firewall”To allow the SNMP service through the Windows Firewall, open the command prompt and type:
netsh advfirewall firewall add rule name="Servidor SNMP" new dir=in action=allowenable=yes profile=public remoteip=any localport=161 protocol=udp