Installing Hyper-V
Tutorial aimed to demonstrate the procedure to install Microsoft’s virtualization system, Hyper-V, on a Windows server.
Hyper-V is Microsoft’s server virtualization environment and is part of current Windows versions available on the market. For workstations it is available starting from version 8 (64-bit) and for servers it is available starting from version 2008 Server (64-bit).
Enable virtualization in the computer BIOS
Section titled “Enable virtualization in the computer BIOS”Hyper-V requires that the hardware where Windows is installed supports virtualization to work. This feature may be disabled on some computers. To enable it restart the machine, enter its BIOS (usually through the F1 or Delete keys) and enable the option for processor virtualization as in the examples below:
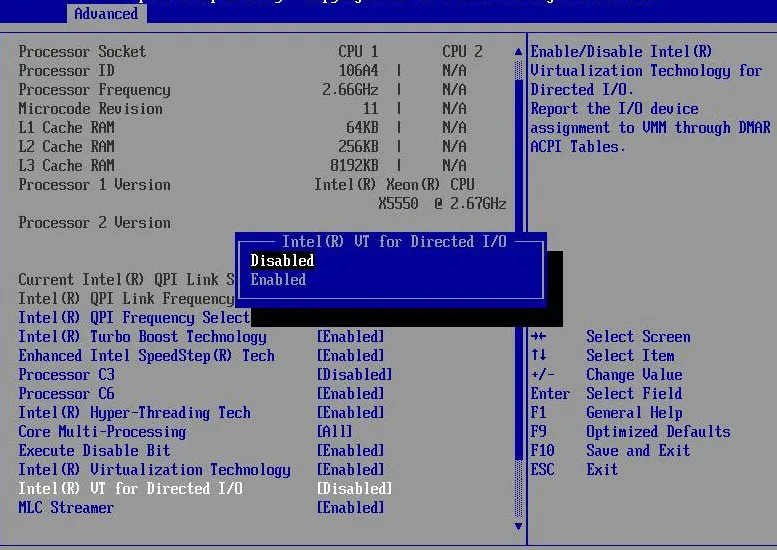
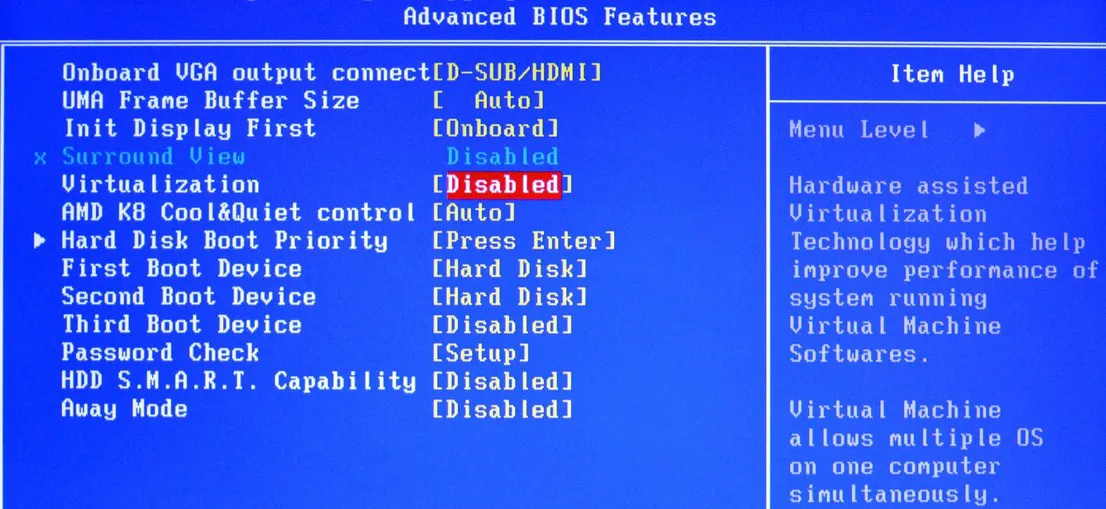
Save the changes and restart the computer.
Install Hyper-V
Section titled “Install Hyper-V”Logged in with Administrator permissions on Windows, run the program below:
appwiz.cplThe Programs and Features management screen will open.
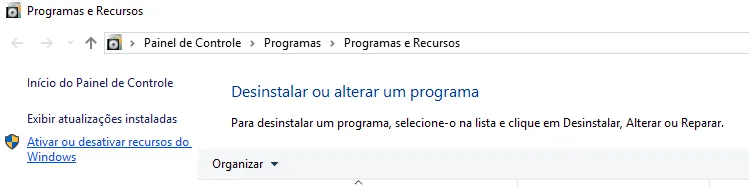
- Click the “Turn Windows features on or off” option
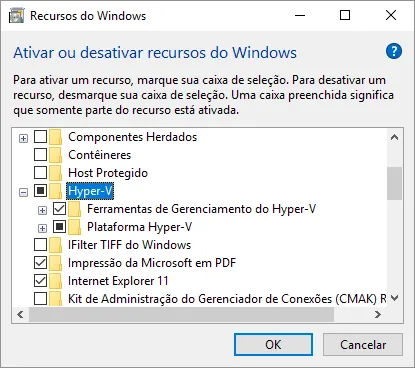
- Check the “Hyper-V” option and all its subitems.
- Click the Ok button.
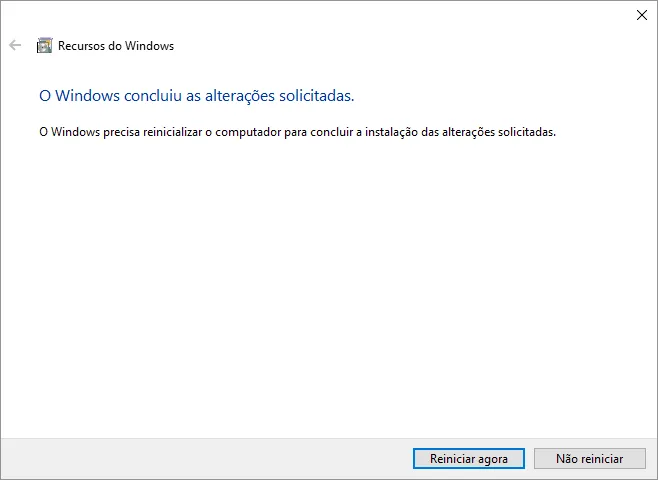
- Click the “Restart now” button.
After restarting Windows Hyper-V will be available.
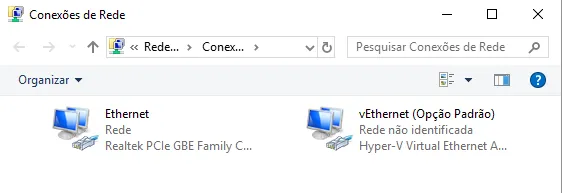
Add an external network interface
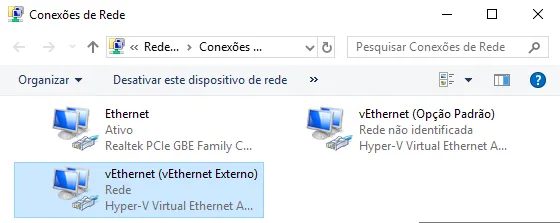
Section titled “Add an external network interface”When Hyper-V is installed a new network interface called vEthernet is created as shown below:
To create an interface with external access, run the program below:
virtmgmt.mscThe Hyper-V management system will open. Follow the steps below:
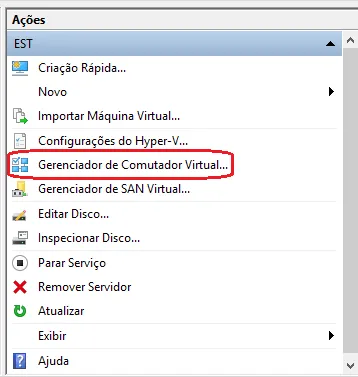
- In the Actions menu, click “Virtual Switch Manager”.
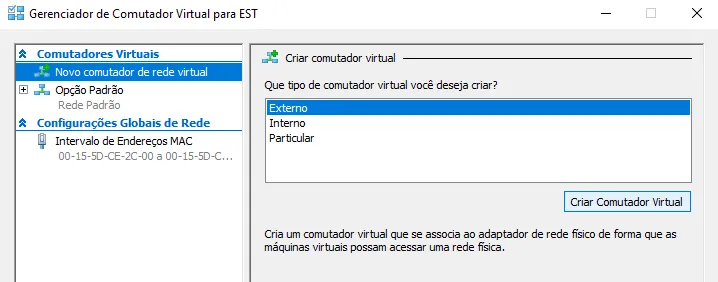
- Click the “New virtual network switch” option;
- Select the “External” option;
- Click the “Create Virtual Switch” button.
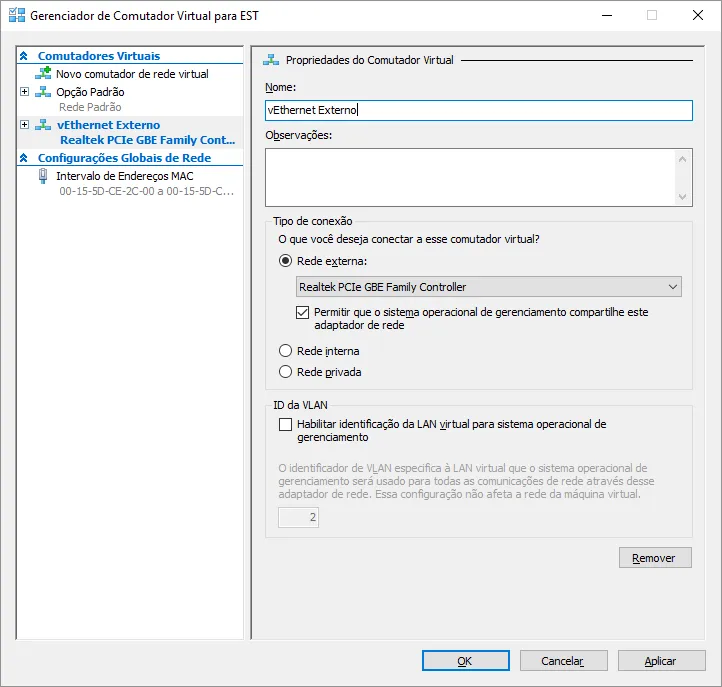
- Enter a name for the new switch;
- In “Connection type” select the “External network” option and the network adapter for your switch;
- Click the “OK” button to create the switch.
From now on a new network interface will be available on your computer. If necessary, configure the IP addresses for this new interface.
Install Monsta on a Linux server
Section titled “Install Monsta on a Linux server”Want to install Monsta on a Linux server? Use our Installation Manual.