Configuring SNMP on MikroTik Routerboard
Tutorial aimed at enabling a basic configuration of SNMP services on a MikroTik Routerboard.
Configuring the SNMP service
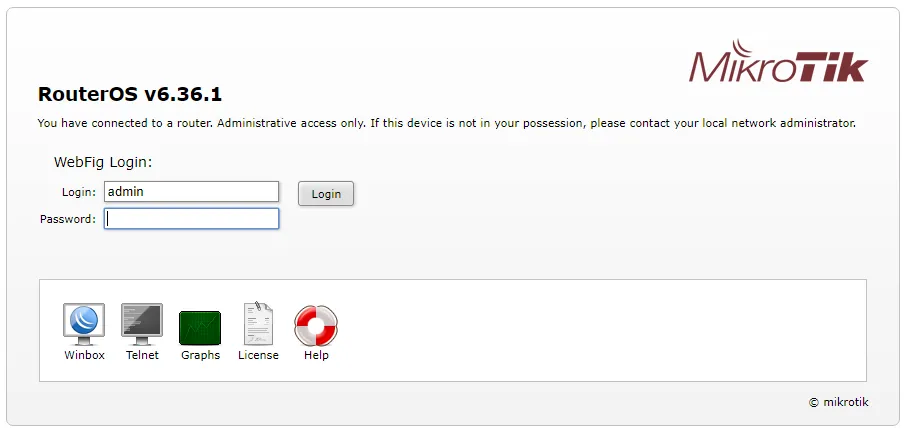
Section titled “Configuring the SNMP service”Open a web browser and enter the MikroTik address in the URL. The following screen will appear:
Configuring a Community
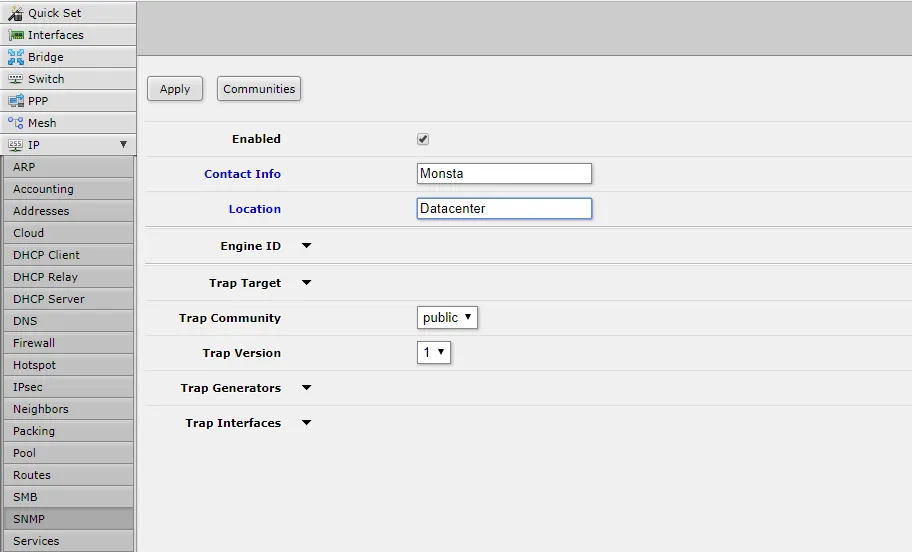
Section titled “Configuring a Community”Then, click the “Communities” button; the following screen will be displayed:
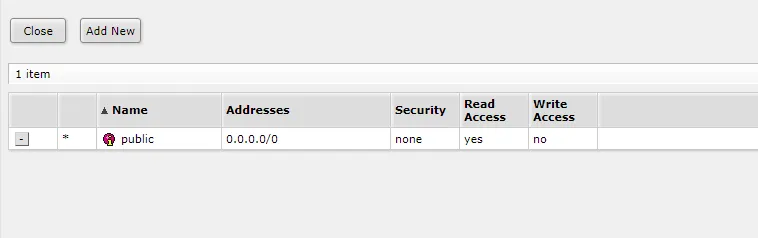
If the community public already exists, modify the configuration information as shown below; otherwise, click the “Add New” button and fill the screen with the following information:
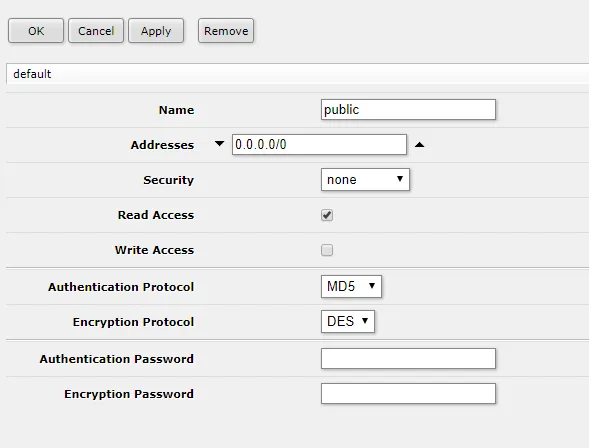
Click the Ok button and then click the Close button to close the community editing window.
Apply the Configurations
Section titled “Apply the Configurations”On the SNMP screen, click the Apply button.
From now on SNMP is available on your MikroTik device and can be monitored by Monsta using versions 1 and 2c with the public community.